Bastion Replacement Removal
Overview@
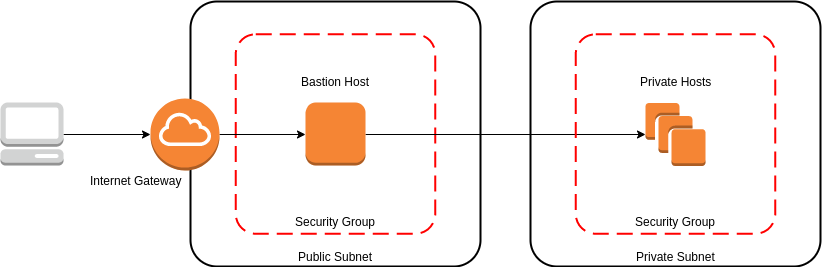
What is a Bastion Host?
A bastion host is a server whose purpose is to provide access to a private network from an external network, such as the Internet. Because of its exposure to potential attack, it's important to lock this down as tightly as possible.
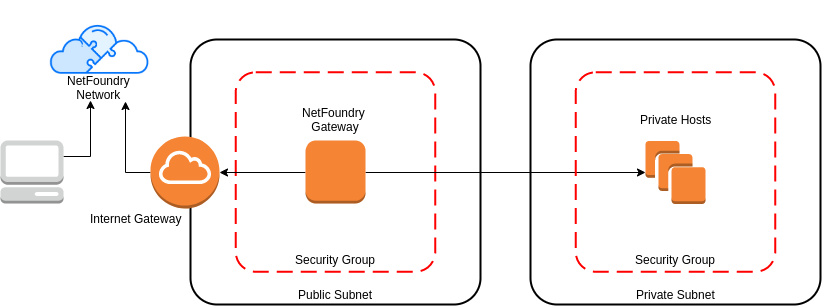
How can NetFoundry Help?
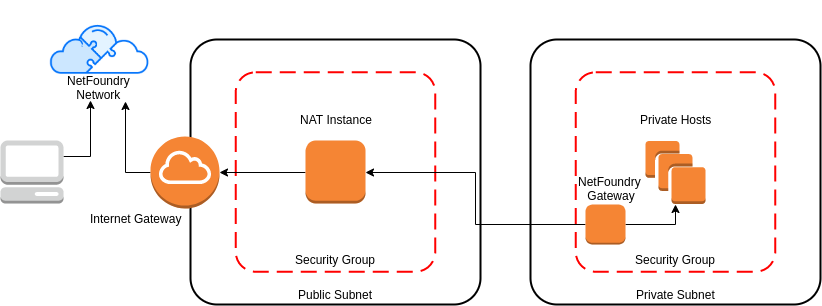
Deploying a bastion host setup with NetFoundry is more secure! Why? Because the bastion doesn't need to be directly accessible from outside networks. It only needs outbound access & can reside in either public or private networks.
Solution Architecture@
Standard Bastion Setup@
Netfoundry@
Public@
Private@
Implement Through NF Web Console UI@
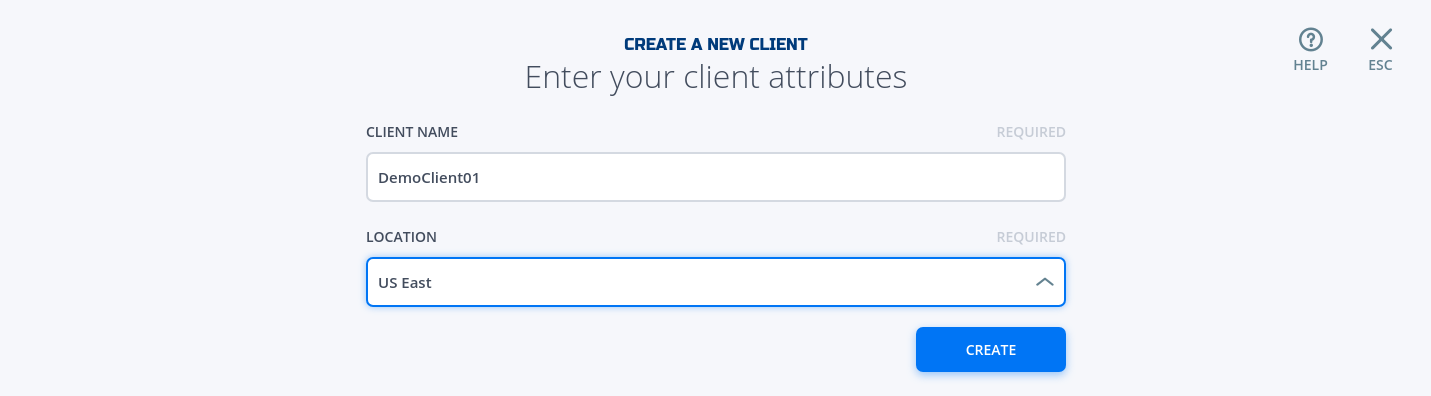
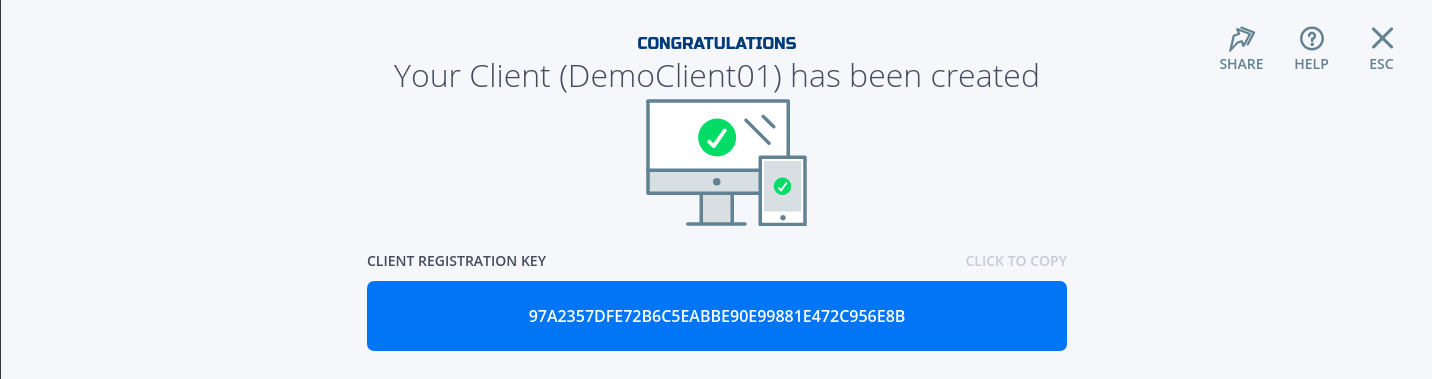
Create and install NF Client@
This section will guide a user through the steps on how to create a client in the NF Console UI. Then, it will provide links to Guides on how to install the NetFoundry Client Software for Windows and MAC Clients, including the registration with the NF Network Fabric.
Console UI

Create and Deploy NF Azure Gateway@
This section will guide a user through the steps on how to create a NF Manage Gateway in the NF Console UI and install it in the Azure vNet.
Console UI
- Navigate to Manage Gateways Page
- Click on + sign in the top right corner.

- Click on "Create Gateway" on the Azure Cloud Gateway Card
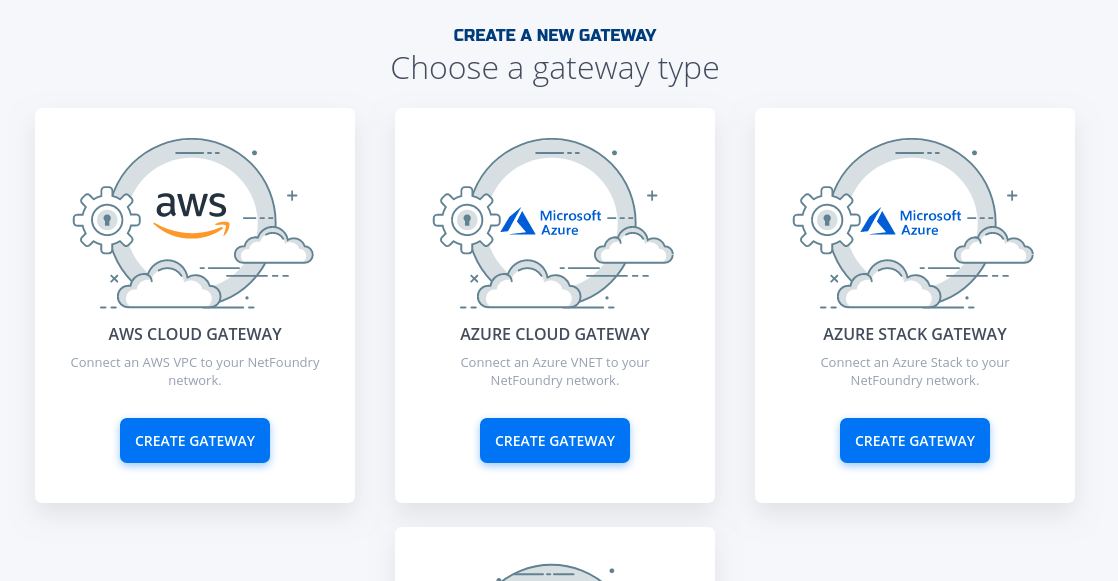
- Fill in the required information and click on "Create"

- Copy the Client Registration Key
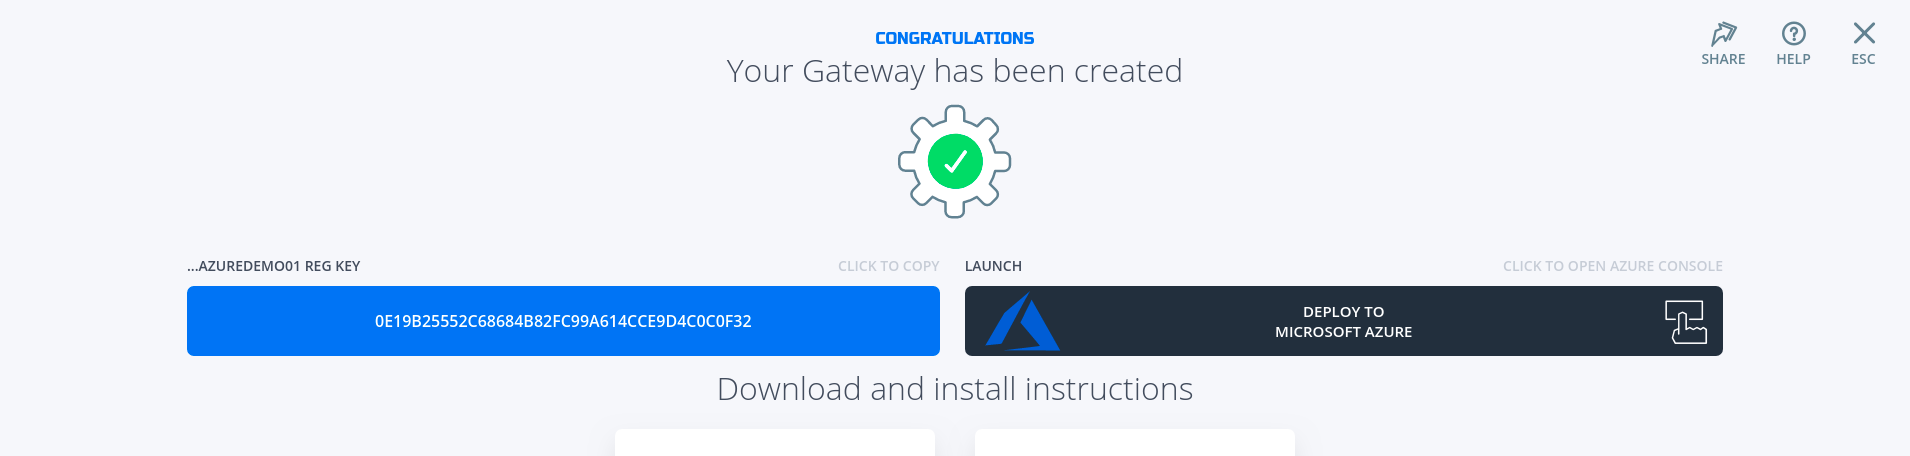
- Click on "Deploy to Microsoft Azure". It will take you to the Azure Portal and ask you for your login credentials.
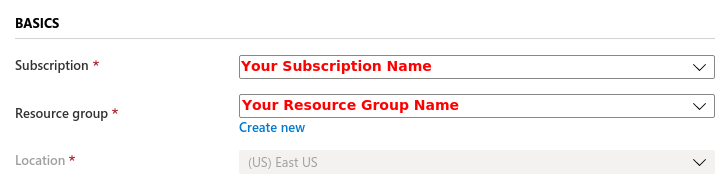
- You will be presented with the template that needs to be filled. The first section is the Basics regarding your Subscription and Resource Group this gateway will be deployed in.
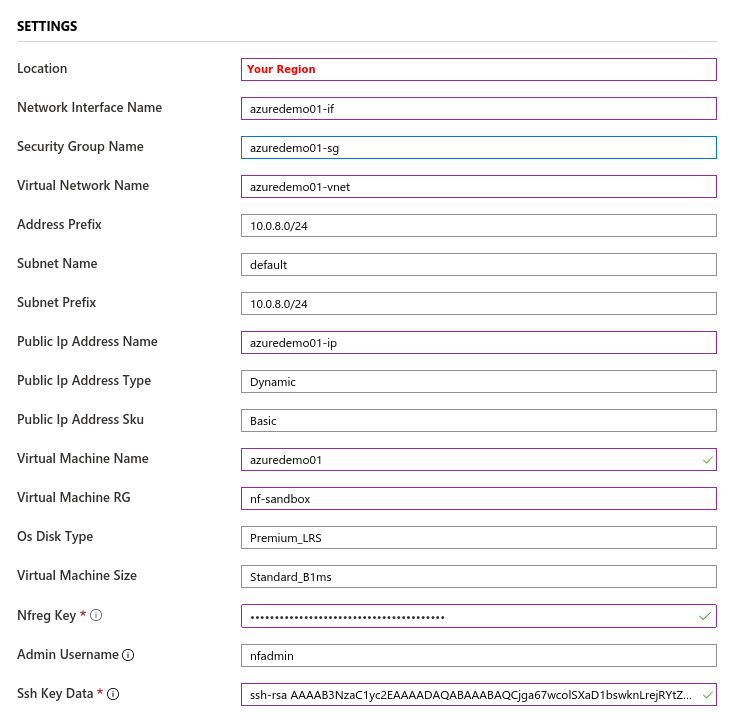
- The second section related to resources associated with this gateway. e.g. vm name, ip address space, security groups, etc. you will paste the registration key copied in step 5. You will also need the public ssh key to use for access to this gateway remotely.
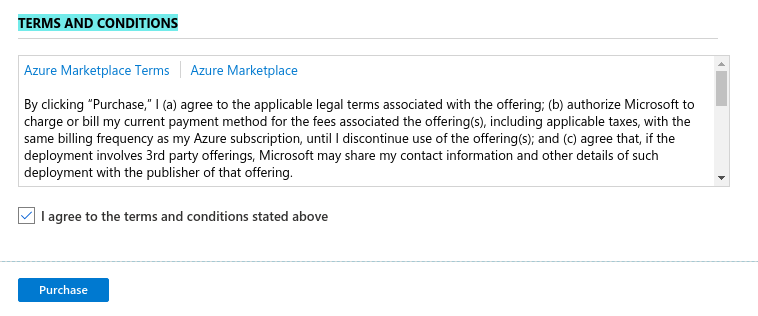
- You will need to agree to Azure Marketplace Terms and Conditions and click to "Purchase" to continue.
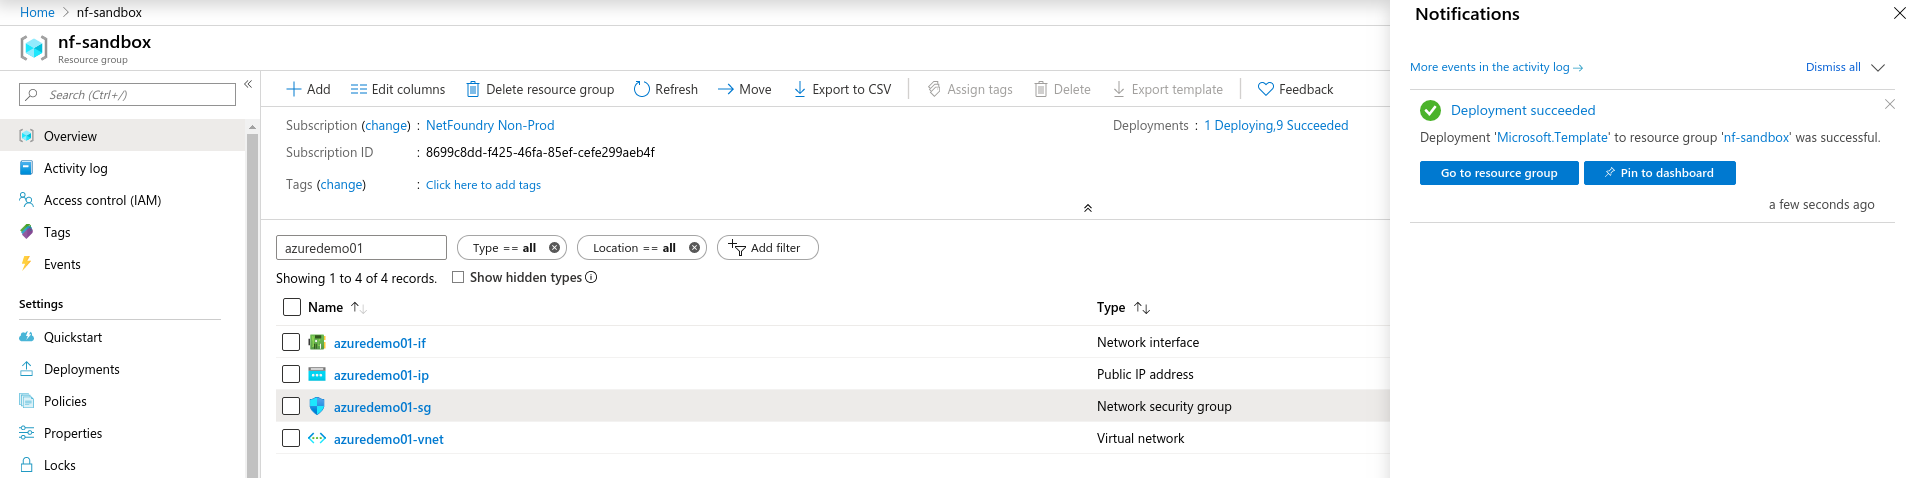
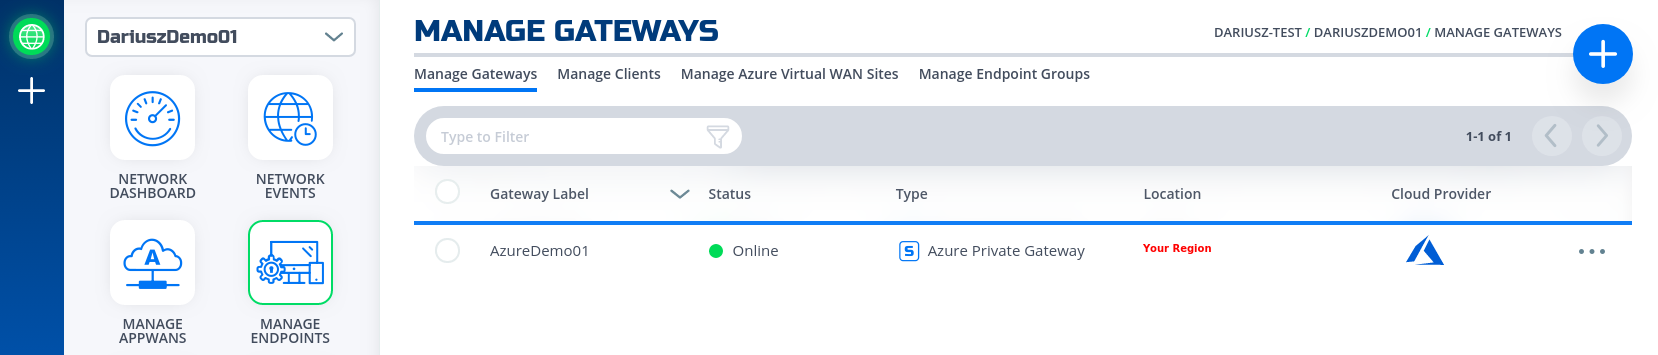
- If the NF Gateway was deployed successfully. Here is the view of the Resource Group and NF Conole UI.
- Done
Create IP Network Service@
This section will guide a user through the steps on how to create a NF Service.
Console UI
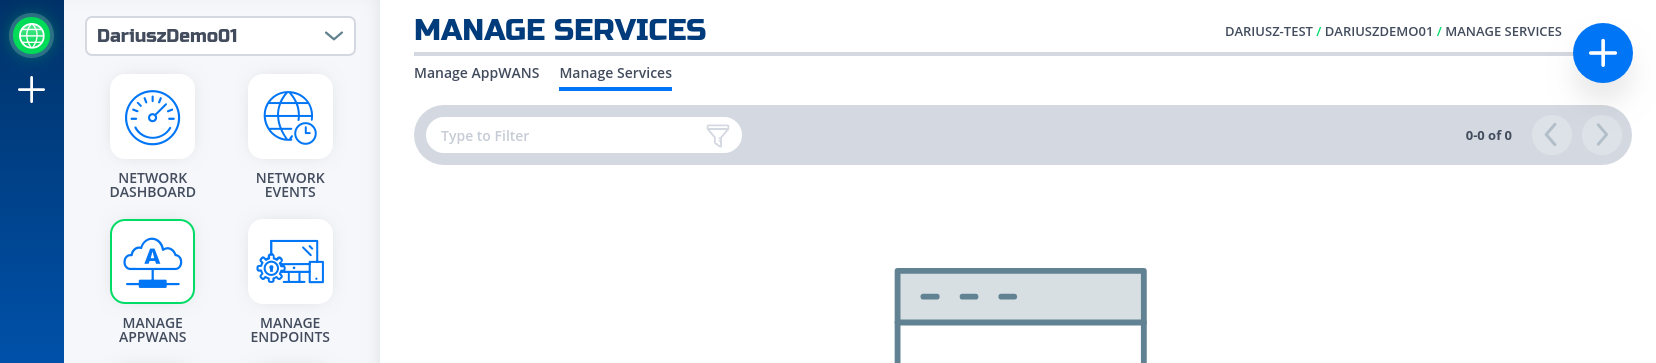
- Navigate to Manage Services Page under Manage Appwans
- Click on + sign in the top right corner.
- Click on "Create an IP Network Service"
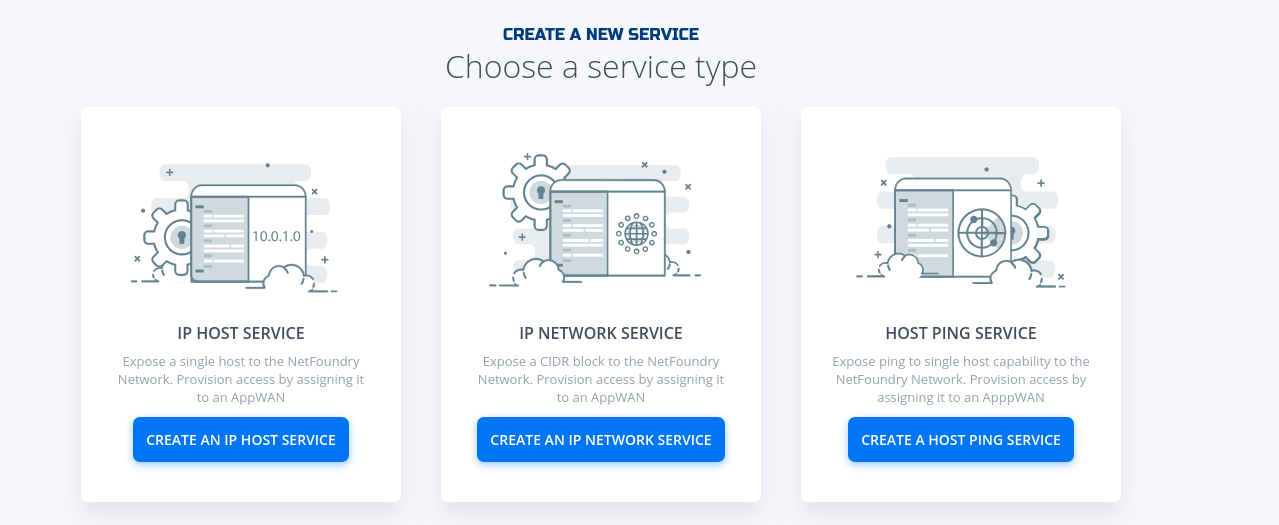
-
Fill in the required information for the Network your wanting to access.
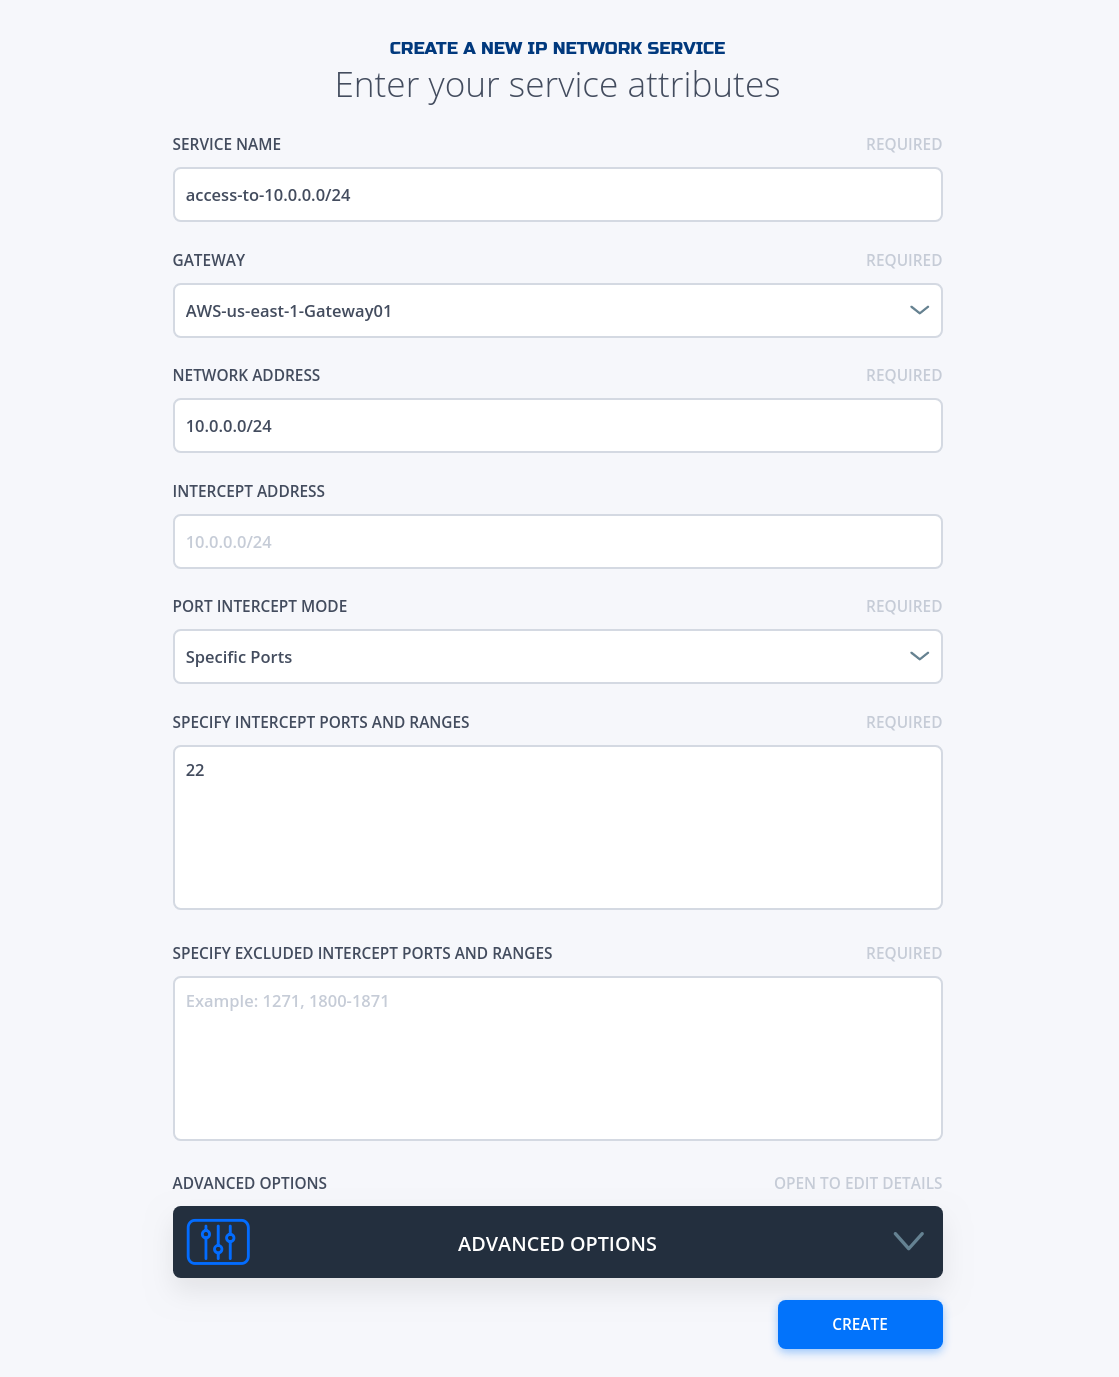
Important
Please make sure the service you want to access is behind the gateway you specify here.
-
If successfully, the service is green.
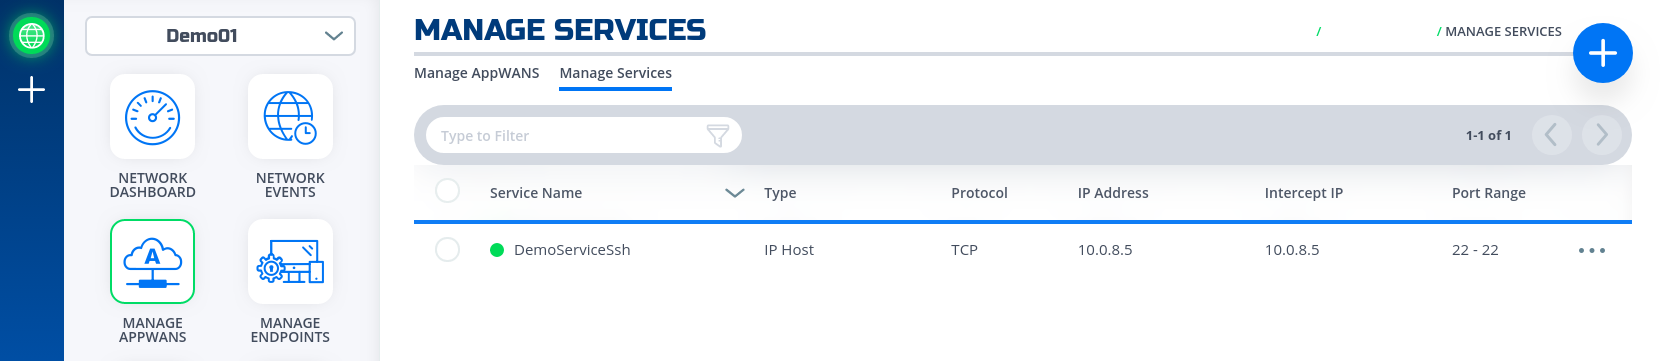
- Done
Create AppWan@
This section will guide a user through the steps on how to enable service connectivity to users by creating an appwan.
Console UI
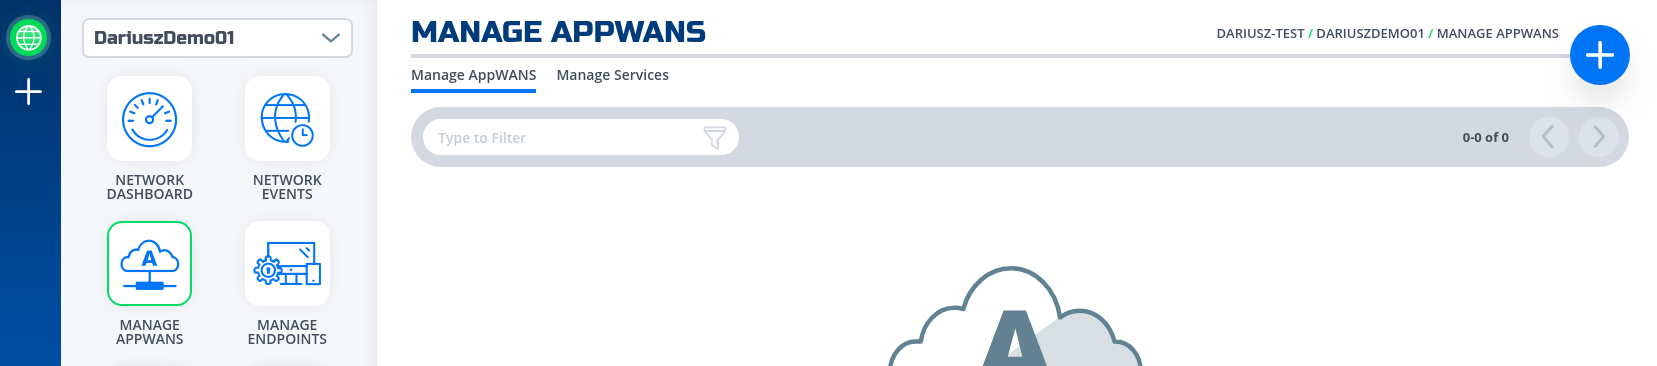
- Navigate to Manage AppWANS Page under Manage Appwans
- Click on + sign in the top right corner.
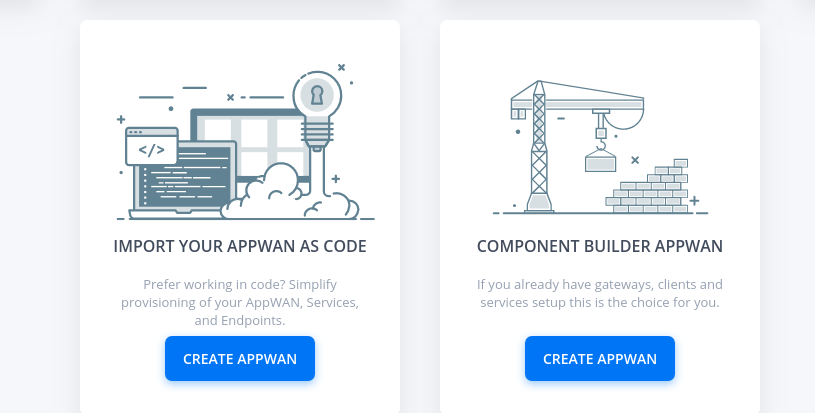
- Click on "Component Builder Appwan"
- Move the desired client (e.g. DemoClient01) from "Available" Clients to "Selected" Endpoints. Move the desired service (e.g. DemoServiceSsh) from "Available" to "Selected" Services.
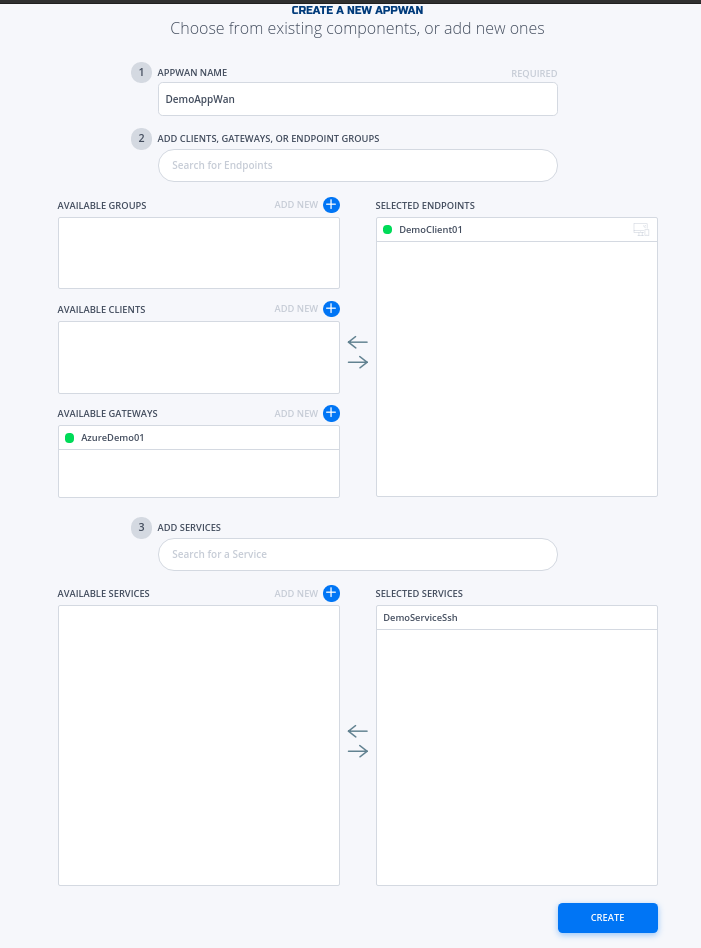
- Click on "Create".
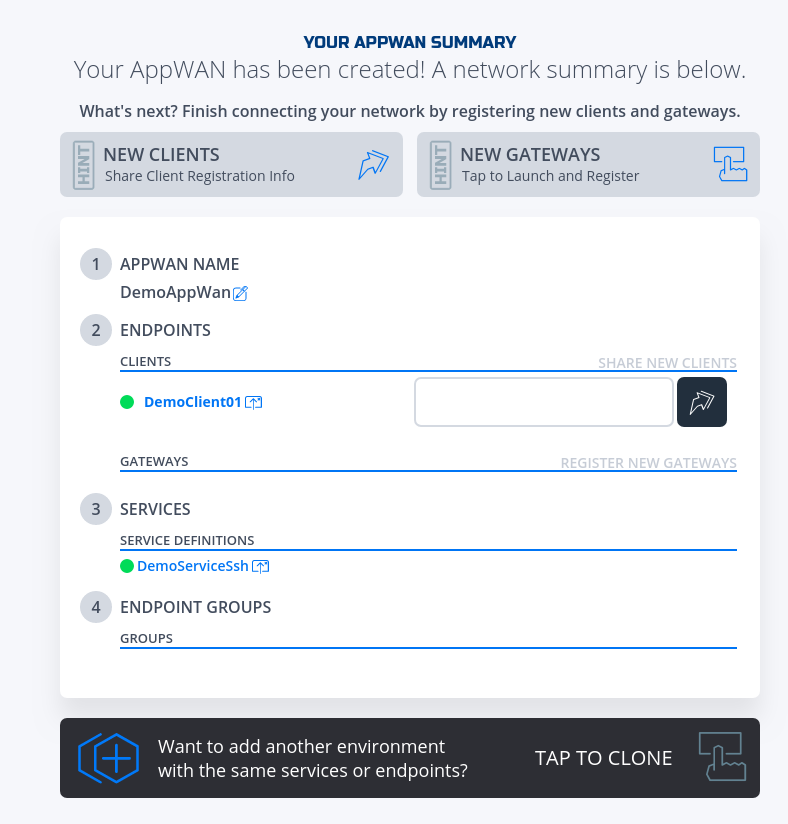
- Done