NF Fabric
Overview@
This section will show how to do that through NF Console, and programatically using NF Orchestration's APIs
via Console UI@
- Click on Network Menu
- Click on "+" button in the top right corner to create a network
- Give it a name, e.g. "DemoNet01"
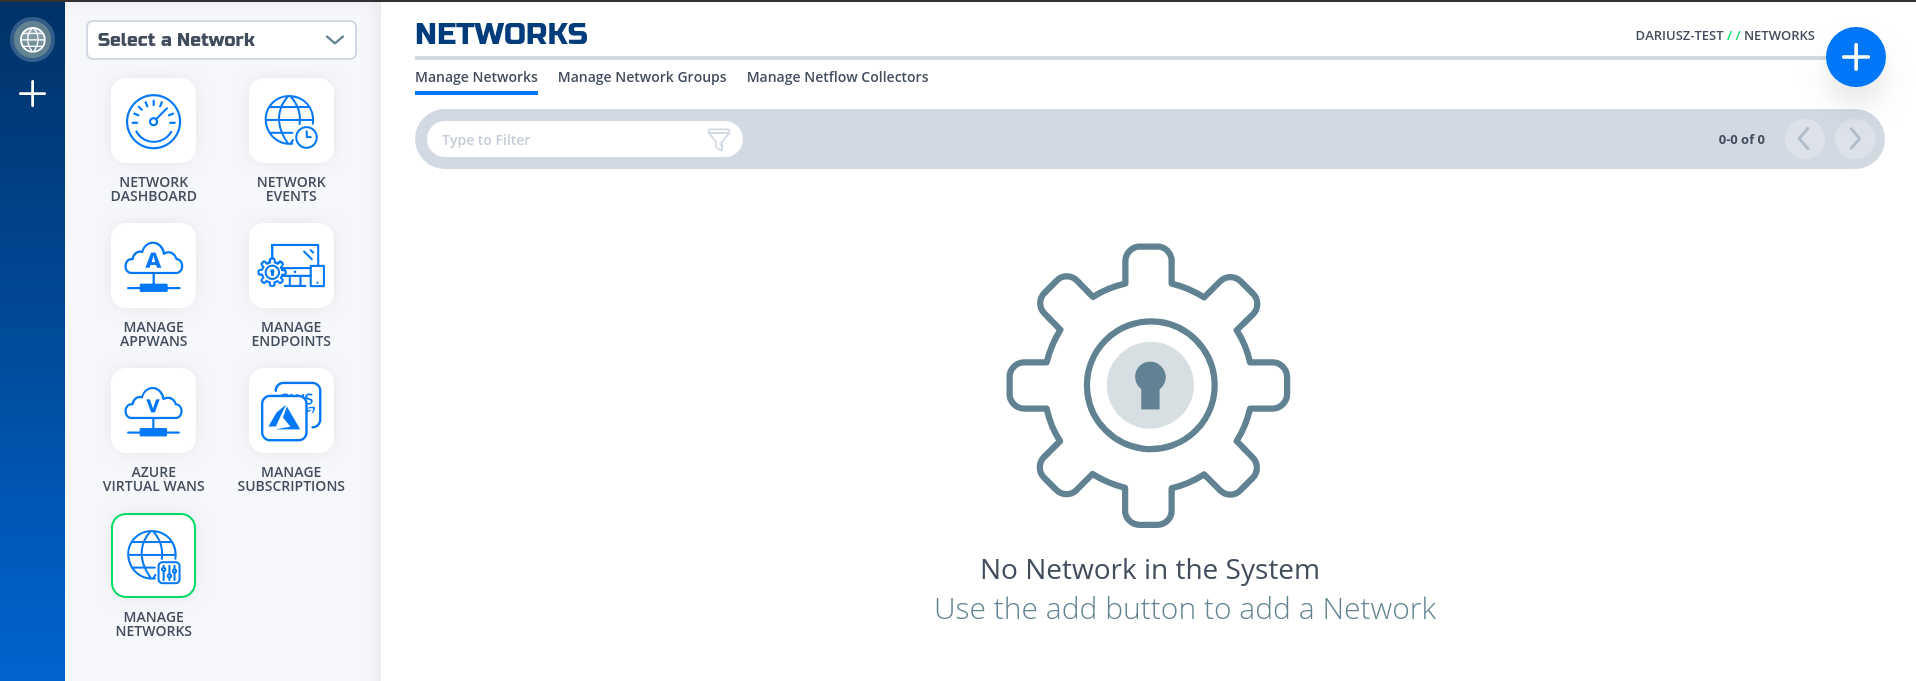
- Wait until the icon network turns green.
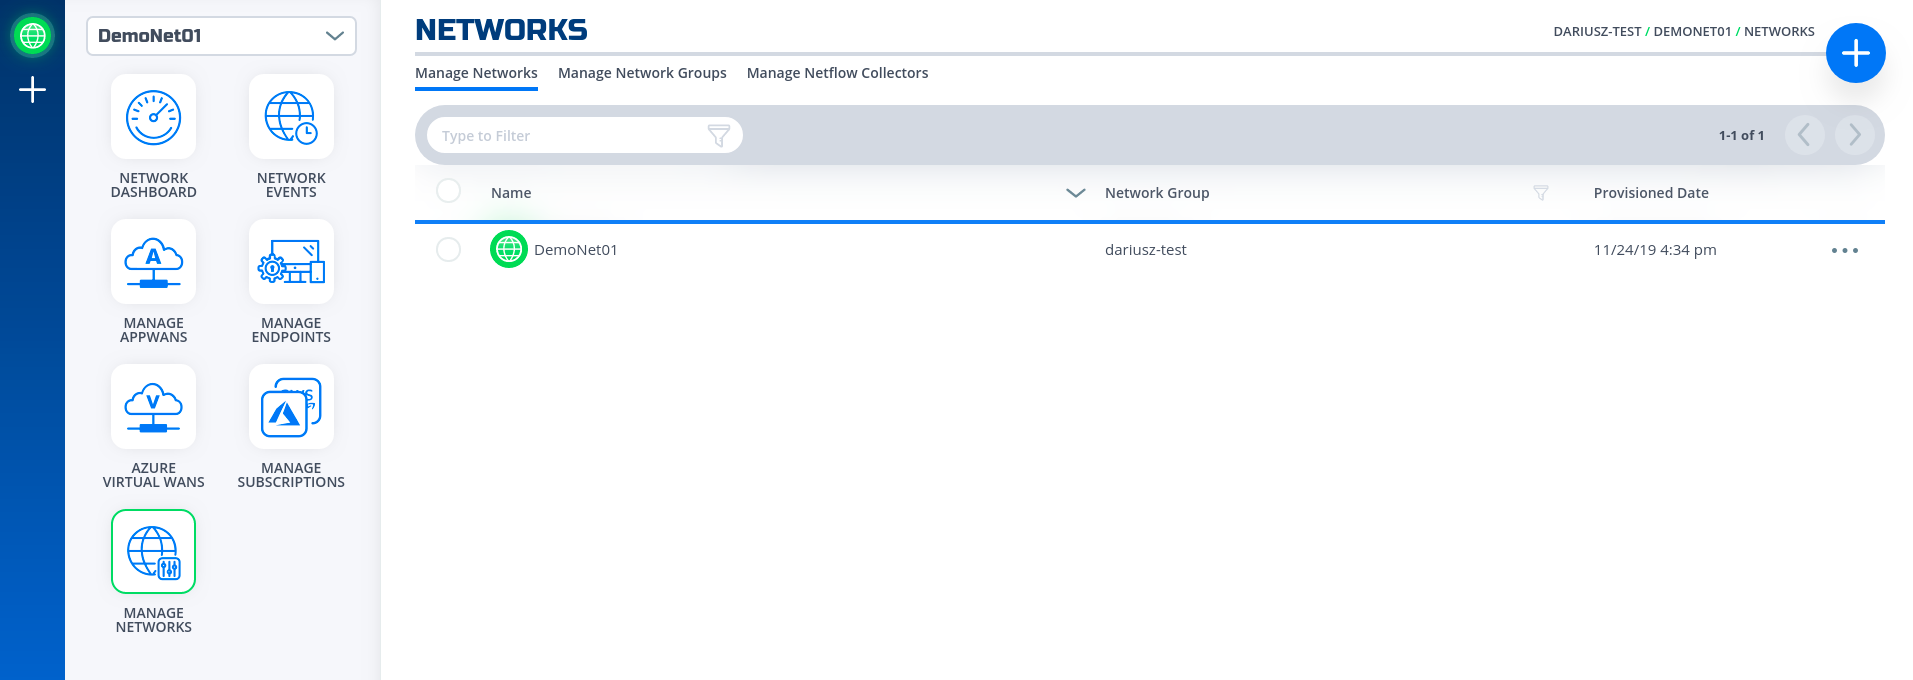
- Done
via REST API (Python)@
Note
For the code clarity, we have broken down the code into multiple Python modules
- NF REST CRUD (Create,Read, Update and Delete) operations
- Get MOP Session Token
- Create NF Network
- Wrapper Script to Create NF Resources based on Resource yaml file
To obtain a session token, the MOP Session Token script parses a configuration file for clientId, and clientSecret if they are not passed to it through the positional arguments (e.g. env, clientId, clientSecret). This configuration file must be located in the home directory under '~/.env'
- Clone this repo (git clone https://github.com/netfoundry/mop.git)
- Change directory to
cd mop - Update Resource yaml file with the desired options to feed into the wrapper script as described in the following code snippet.
- Run this from the root folder
Required Configuration Paramters
python3 quickstarts/docs/api/python/nf_resources.py --file quickstarts/docs/api/python/nf_resources.ymlenvironment: {NF Console Environment, e.g. Production} network_action: { e.g. create, get, delete} network_name: { e.g. DemoNet01 } - Done
Note
The logs will be outputted to the log file named logoutput.txt under the directory that the script is run './'.